

Top Stitch Mending x Hello Studio RVA

TALKING HEAD

TALKING HEAD 2

TOP DOWN 1

CLOSE UP 1

TOP DOWN 2

CLOSE UP 2

CLOSE UP 3

TOP DOWN 3

SHOOTING SCHEDULE
DAY 1
RUNNING STITCH
BACK STITCH
DAY 2
TWO HOLE BUTTON
FOUR HOLE BUTTON
DAY 3
SHANK BUTTON
SNAP
DAY 4
HOOK & EYE
LADDER STITCH


BACK STITCH
-Stronger than running stitch and simulates more of what a sewing machine is doing where the thread appears on both sides in a line.
-Threading needle?( maybe not each time- what do you think?) possibly just que to pause so they can catch up??
-Starts the same as the running stitch and then we go back to where we came out. Using the thread as our half-way point can help us get our stitches even, with practice over time. Again, to start don’t worry about evenness or length. Just try not to make them longer than your fingertips.
-As you go, try not to pull your thread too tight because it can gather the fabric. Check in along the way and you can pull your fabric a little (like this: close up of hands) as you go to be sure it’s laying flat.
-finish on back and tie knot with previous stitch.
-Show how to put it into action on a torn seam or fallen hem- Denim shorts, (multiple views of garment before the repair) start to finish and “hide the tails” (multiple views after)
HAND SEWING SAMPLER
Explain the fabric I’m using and what I’ll refer to as “front” and “back”. Possibly mention- I will use it for all of the stitches in this series.
RUNNING STITCH
-It’s the most basic hand sewing stitch, it’s useful for quick repairs, like if you are walking out the door and notice a small tear in a seam. You can use this on the spot to hold things together for the night. You can always go back with a stronger stitch later. This will help get us into the groove and with how we like to hold our needle and interact with the fabric.
-Can draw a line if you want with sharpie, pen or chalk or just wing it.
-Threading needle
Length of thread
Waxing thread
Thread needle (with tricks?)
Show where knot goes OR how to anchor it on the back of fabric
-My friend Daniele says, it’s like a dolphin going in and out of the water
-you can do multiple stitches at once and over time practice making the stitches even
-Length of each stitch should be around ¼” or less. Don’t worry about that to start, just get into the groove of holding your needle and the general motion. Over time you can focus on making your stitches smaller and even. The idea is just that you don’t want them so large your finger can go under them. Less chance of them getting caught on something over time.
-go over how to knot at the end (balloon or **just using other stitch to help)
-when to use it- on quickie repairs like a tear on a seam or something you want to come back to later and put a stronger stitch or something that is too delicate for a stronger stitch.
-Show how to put it into action on a torn seam, Brown Floral vintage dress- (multiple views of garment before the repair) start to finish and “hide the tails” (multiple views after)
CLOSURES
( This will go into one or more of the button videos)
When choosing a button, you want to match it to what is already there. It’s important to use the correct size so you don't tear the button hole over time. If it’s a single button (and you have nothing to compare to) you can always slide it through the hole a couple times before you sew it on to check. If there is a lot of resistance you need a smaller button and if it goes through without touching the ends at all, you need a larger one. (Show close up of trying buttons)
Tip: If your button is slightly off in color or you only have a really stand-out option, I like to put that one at the top and move the other matching button down to the place it fell off. That way it looks intentional.
Shank Button
-Explain the shank button with loop on back (and show examples close up, plastic, metal, big and small) and that you often see them on coats and vintage clothing or as a single closure at the back of neck. For coats I use a Heavy-duty thread (show spool close up). The shank creates space automatically for the other fabric to fit underneath it, when buttoned. (Close up of coat)
-Pin to mark the spot you want to sew your practice button on, take a stitch from backside over the pin and anchor thread. Remove your pin. Come to front of of fabric right where you took a stitch and go through the shank hole, then taking a stitch in the fabric below it. Repeat this about 6-8 times, based on the weight of fabric and button. Try your best to always go in the same direction through the shank hole and fabric- it may try to twist as you go.
-Take needle with thread to back of fabric and tie knot to the tail that’s back there already. Loop stitches or hide tail and cut to give knot some extra space.
-Show example with thread shank added at the end, if it’s for a thicker fabric (like a wool coat). Same as above plus wrapping it (on the right side of fabric) below button and then taking it to back for knot.
-Show in action- Pink rhinestone top- and possibly on coat- Maybe this is where I should show the thread shank above?? Then it’s still 2 demos like all the others, instead of 3.
2 Hole Button
-Use a pin to mark location. Take a stitch from the backside, over the pin and anchor thread. Remove your pin. Come to front of of fabric right where you took a stitch and go through one of the button holes - *back to front*- double check this when you pull your needle all the way through. Then put your needle through the other hole- *front to back* and all the way into the fabric below. Slide a pin, toothpick or match under your stitches or beneath your button, to create some wiggle room. Repeat this loop in the same direction, about 5-7 times, based on the weight of fabric and button. Remove pin, end on back, tie knot and hide tails. If it’s too loose, you can wrap the bottom like with a thread shank
-Show in action with holes lined up parallel with button hole- Leopard print top.
4 Hole Button
-Use a pin to mark location. Take a stitch from the backside, over the pin and anchor thread. Remove your pin. Come to front of of fabric right where you took a stitch and go through one of the button holes - *back to front*- double check this when you pull your needle all the way through. Then put your needle through the other hole diagonal from it- *front to back* and all the way into the fabric below. Slide a pin, toothpick or match under your stitches or beneath your button, to create some wiggle room. Repeat this loop in the same direction, about 4-6 times and pause on the back to start again with the second set of holes, going through diagonally and switch your pin direction if needed. End again on back , tie knot and hide tails.
-Show in action on clothing- Rainbow diamond top.
CLOSURES cont.
SNAPS
-Come in all different sizes and colors. Great to add to necklines or areas that are gapping but have little strain on them. Make sure you choose a size that is secure enough but not too heavy for the fabric.
-I start with the ball/traffic cone side (it has a very flat bottom and will lay flush on fabric). I hold it down with my less dominant thumb to start. With flat side down, start just outside the snap, taking a stitch into the fabric and coming out of the closest hole. I don’t start with any knots, just be sure to leave a tail about 3-4” long. Repeat this stitch, going into the area next to your first stitch and coming out of the hole - around 3-4 times and then move over to the next hole. You will notice a thread line on the snap each time you move over a hole. This creates a little bumper so that the snap doesn’t put too much strain on the fabric when it is being fastened. Once you have looped around all 4 holes 3-4 times, take your thread under the first stitches and tie your thread to the original tail, 2 times to knot. I switch to a needle with a larger eye and thread both ends taking the tails under the snap before I snip them.
- Next up is the pot hole/socket side. It is very very easy to sew this on upside down if you are in any kind of rush. I like to snap and flip to double check that it’s facing the right way, with the hole/socket side up. It should feel a little wobbly and that’s what we want. Holding it down again with less dominant thumb, we will repeat the same process for this side of the snap. The main difference is, because it wobbles, we have to be very careful not to pull our stitches too tight, especially in the beginning. You want there to be enough ease to sew the other side down without straining the fabric below. If you see the snap start to tip the stitches are too tight. We’ll start the same as before, taking a stitch into the fabric and coming out of the closest hole. No knots, a tail about 3-4” long. (Repeat this stitch, going into the area next to your first stitch and coming out of the hole - around 3-4 times and then move over to the next hole. Finish by take your thread under the first stitches and tie your thread to the original tail, 2 times to knot.)
-Show in action on clothing- Linen Pants. Ball/cone side (with flat back) gets attached to the wrong side of the overlapping fabric. Stitching through only one layer of fabric if possible (you may have to go through it, if it’s being added to a single layer- just use matching thread). You can mark the position of the other side by putting a pin through (if available), chalking the tip of cone or just pushing hard to make an imprint. When you attach the socket/pot hole side you sew through all layers of fabric.
HOOK, EYE
-Talk about various sizes and colors and the 3 parts (2 types of eyes) and show examples on cards. Straight eyes are used where fabric overlaps on a piece of clothing and round eyes are used where 2 edges meet (show examples). If one has fallen off I use that as my guide for what to replace it with.
-On sampler: For the hook, we can line it up with the edge of our fabric and hold it down with our less dominant thumb. Similar to the snap, start just outside the loop, taking a stitch into the fabric and coming out of the closest hole. I don’t start with any knots, just be sure to leave a tail about 3-4” long. Repeat this stitch, going into the area next to your first stitch and coming out of the hole - around 3-4 times and then move over to the next hole. When both holes are complete, we will will move up to the actual hook, by putting our needle into the fabric (like before) and take one long stitch all the way up to the side of the hook. We will pass our thread under the hook, crossing it to the other side and taking a stitch back to where we just came out. The thread can try to escape where we passed it under the hook so try to be sure it stays under as you pull it taught and repeat this 3-4 times. Then we put our needle into the fabric next to the hook, like before, but take one long stitch in the other direction, back to where we first started. Tying the 2 tails together and hiding them before we trim.
For the round eye, we will line it up across the fabric and put it slightly off the side of the sampler (fabric). Holding it down with our thumb again (once you have it placed you can always move the sampler or garment around to suit the angle you like) we will begin in the same way as the hook. Start just outside the loop, taking a stitch into the fabric and coming out of the closest hole. I don’t start with any knots, just be sure to leave a tail about 3-4” long. Repeat this stitch, going into the area next to your first stitch and coming out of the hole - around 3-4 times and then move over to the next hole. Return to the first stitches, going under them with the needle and thread and tie your two tails together, hide them and cut ends
-Show in action on clothing- 50’s swimsuit/romper.
For the straight eye, we use this when fabric overlaps, you want to place it across from your hook, parallel to the edge of fabric so that hook can latch. You can start at one end, same as before …. 4 times and take one long stitch to the other end, coming out of the center of the opposite loop and repeat 4 stitches, then returning to your tail with another long stitch, tie ends, hide them and trim.
-Show in action on Rainbow skirt
Ladder Stitch/ Even Slip Stitch
This stitch is not shown on the sampler- only in practice- Serged jeans seam and possibly a second item so they can see it twice (pillow?).
-This is an almost invisible stitch, used to join two folded edges together. It’s a great way to mend a seam, working from the outside when the inside is hard to reach or not accessible. There might be an instance where you can’t get to the inside of the item you are repairing, like a shoulder seam that has lining underneath or a pillow without a zipper.
-I typically work from right to left but if you are left handed you can work left to right. First we have to secure our thread, you will take a stitch, about ¼” long, in one of the folded edges. I start beyond where the seam is torn, at least a ½” inch to the right, leaving a tail of a few inches. Then take one stitch back through the opposite fold, meeting your first thread and tie your knot (2 times). Now we can start working our way to the other end by taking ¼” stitches, back and forth through each fold. Slip your needle into one fold, pull it through and go across to the opposite side and repeat. If you can see where the previous stitches were, you can use that as your guide. I like to start before the tear and end after it, to be sure it’s secure. Once you get to the other end, past the torn area you can use an existing stitch to tie your knot- you do this by putting your needle under a stitch, creating a balloon/loop and putting your needle through the loop. Do that a second time in the same place, create a loop and put your needle through. Hide your tail in seam and cut the end, go to first tail and hide that as well.

Talking head 1
Top Down of tools 2
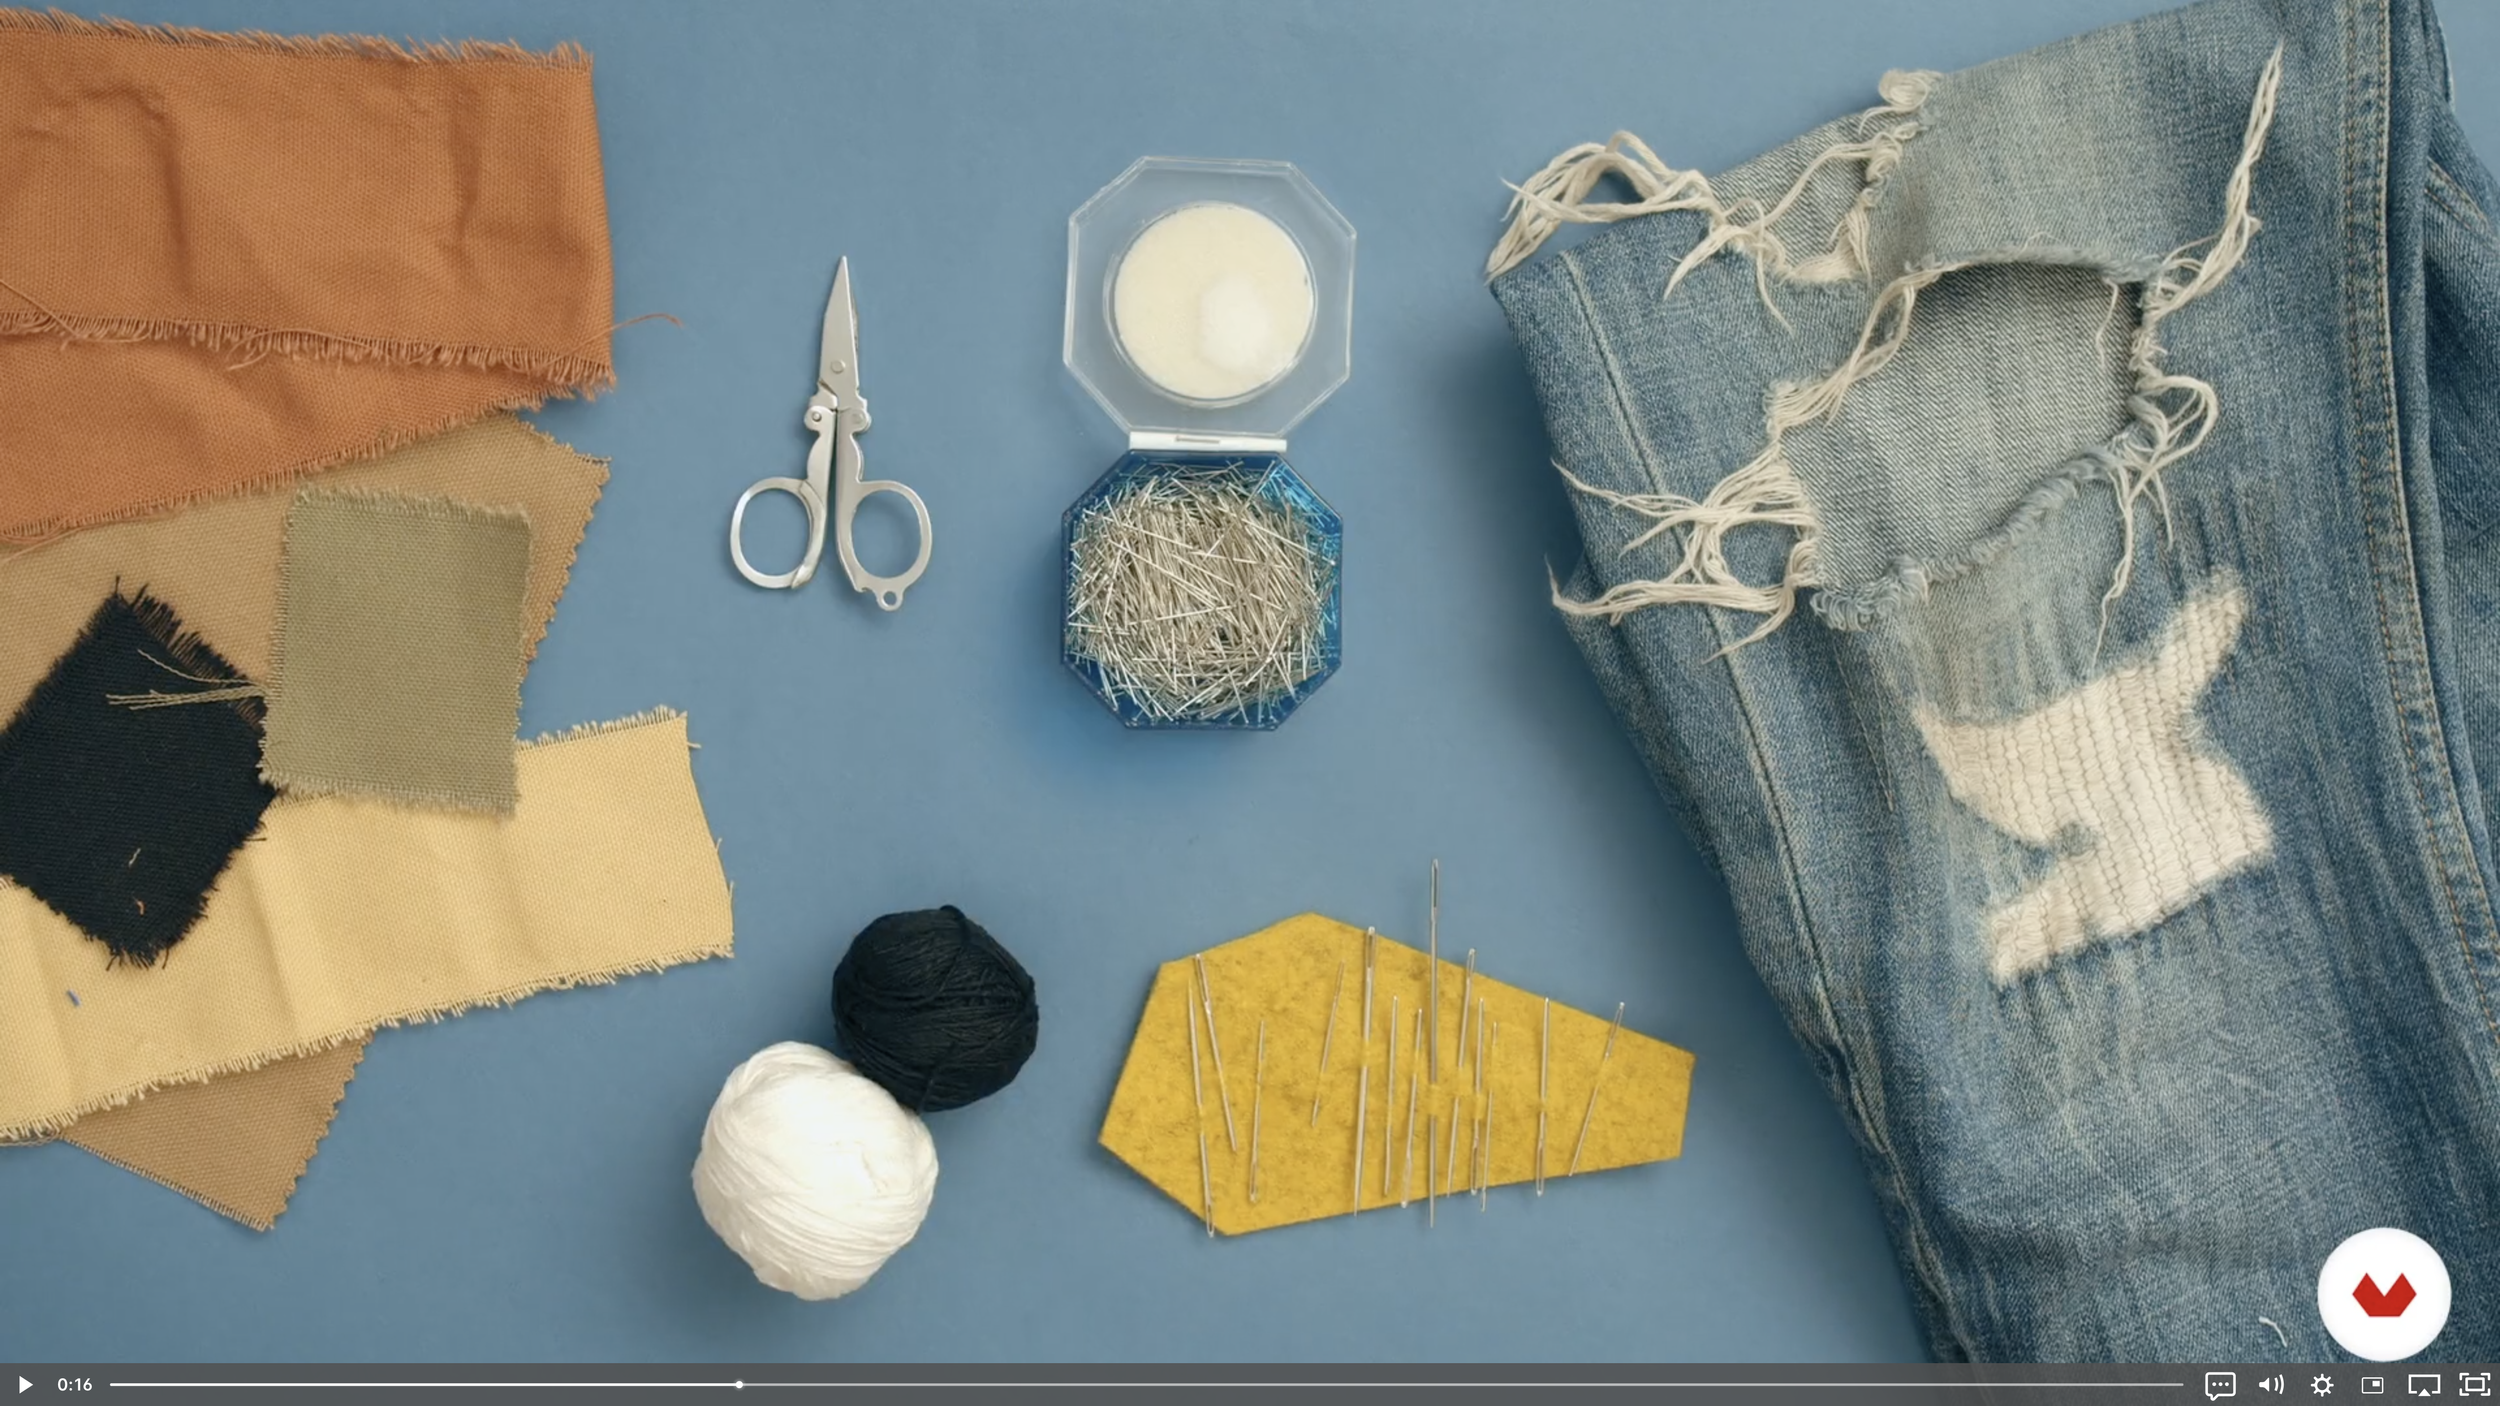
Top Down of Tools
Close up of tools ( different angle )